How To Install Vj Panelling
If you're looking to add some rustic charm to your home, vj panelling might just be the answer! This classic design element adds texture and interest to any room, and can be used on walls, ceilings, or even as wainscoting. But if you're not familiar with how to install vj panelling, the process can seem daunting. Don't worry - in this post, we'll cover everything you need to know to successfully install vj panelling in your home.
Installing vj panelling can be a daunting task, especially if you're not experienced in DIY projects. Common questions regarding how to install vj panelling include: What tools will I need? How much time will it take? How much will it cost? Thankfully, with a little bit of research and patience, you can master the art of installing vj panelling in your home.
The first step in how to install vj panelling is to choose the right type of panelling for your project. Vj panelling comes in various styles and materials, including MDF, timber, and PVC. Once you have your panelling of choice, it's important to measure and cut the panels to fit your walls or ceiling. This can be done using a saw, and it's important to make sure your measurements are accurate to ensure a perfect fit.
To successfully install vj panelling, you'll need to nail or glue the panels to your walls. This can be the most challenging part of the installation process, as it's important to make sure the panels are level and correctly aligned. Once the panels are securely attached to the wall, you can add any finishing touches, such as trim or paint.
What to Expect When Installing VJ Panelling
Installing vj panelling can be both time-consuming and labour-intensive. However, the payoff is worth it, as vj panelling can transform any room into a warm, inviting space. When installing vj panelling, expect to spend at least a full day on the project, depending on the size of the room and the complexity of the installation. Make sure you have all the necessary tools and materials before beginning the project, and don't hesitate to ask for help if needed.
Choosing the Right Panelling for Your Space
One of the most important steps in how to install vj panelling is choosing the right style and material for your space. Some popular options for vj panelling include shiplap, beaded board, and tongue and groove. Each style has its own unique features and advantages, so it's important to consider factors such as cost, durability, and style when making your choice.
Tools You'll Need to Install VJ Panelling
Before you start your vj panelling project, you'll need to gather a few key tools. These include a saw, drill, level, measuring tape, nails or glue, and finishing materials such as trim or paint. It's also important to have safety equipment such as goggles and gloves to protect yourself during the installation process.
Tips for Successful VJ Panelling Installation
When installing vj panelling, it's important to take your time and work carefully to ensure a professional-looking finished product. Some tips for successful vj panelling installation include measuring twice, cutting once, using a level to ensure straight lines, and taking breaks when needed to avoid fatigue or mistakes. Don't be afraid to double-check your work as you go, and make any adjustments as needed.
FAQs About How to Install VJ Panelling
Q: How much does it cost to install vj panelling?
A: The cost of installing vj panelling can vary depending on factors such as the type of panelling used, the size of the room, and any finishing materials. Generally, you can expect to spend around $10 - $20 per square foot for a professional installation.
Q: Can I install vj panelling myself, or do I need to hire a professional?
A: While vj panelling can be a challenging DIY project, it is possible to complete the installation yourself. However, if you're not experienced in DIY projects, it may be best to hire a professional to ensure the job is done correctly.
Q: Can vj panelling be installed on ceilings?
A: Yes! Vj panelling can be installed on both walls and ceilings, and can add beautiful texture and interest to any space.
Q: Do I need to use paint or finish on my vj panelling?
A: While some vj panelling can be left unfinished for a natural, rustic look, it's generally recommended to add paint or finish to protect the panels from wear and tear and provide a finished look.
Conclusion
Installing vj panelling can be a challenging but rewarding DIY project that can add character and charm to any space. With the right tools, materials, and patience, you can successfully install vj panelling in your home. Remember to take your time, work carefully, and don't hesitate to ask for help when needed. And most importantly, enjoy the process!
Gallery
Installation Guide - VJ Sheeting For Wall And Ceiling Linings
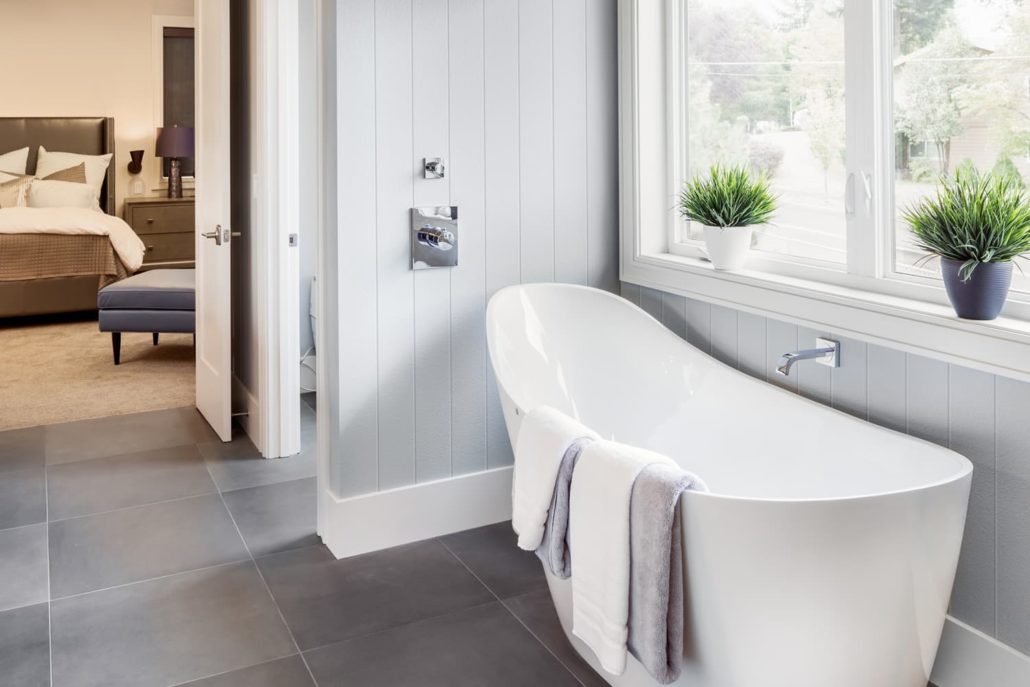
Photo Credit by: bing.com / vj wall linings ceiling sheeting bathroom installation guide panelling board panels lining walls ensuite
How To Use VJ Paneling In Your Bathroom - Savannah Denny Interiors

Photo Credit by: bing.com / vj panelling paneling
How To Install Wainscoting Wall Panelling - Intrim Mouldings

Photo Credit by: bing.com /
How To Use VJ Paneling In Your Bathroom - Savannah Denny Interiors

Photo Credit by: bing.com / vj panelling paneling
Panelling & Lining Boards - DIY Timbers Pty Ltd

Photo Credit by: bing.com / panelling boards lining timbers diy